DIY


I. Introduction Alternative rock and indie music have emerged as two of the most influential…
Read More »


I. Introduction In today’s fast-paced and stressful world, people are constantly seeking…

I. Introduction Book clubs are a great way to expand one’s reading…

I. Introduction Summer is the perfect time of the year to kick…
I. Introduction For centuries, literature has been a cornerstone of culture and…

I. Introduction A. The allure of thrillers There is something undeniably captivating…

I. Introduction Finishing a beloved book series can bring about a range…

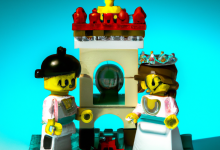
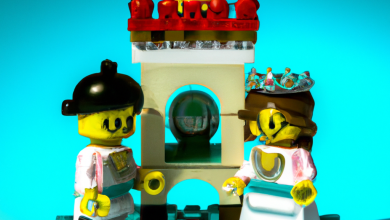
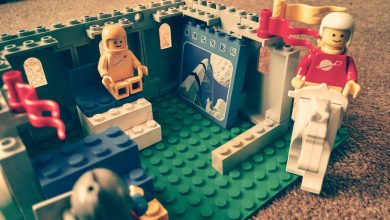
I. Introduction Lego has been a part of the toy industry for almost a century, and it has been providing almost endless possibilities for children to be creative and imaginative for generations. Ole Kirk Christiansen,…
Read More »