I. Introduction
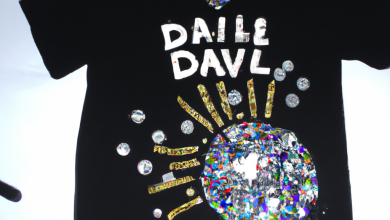
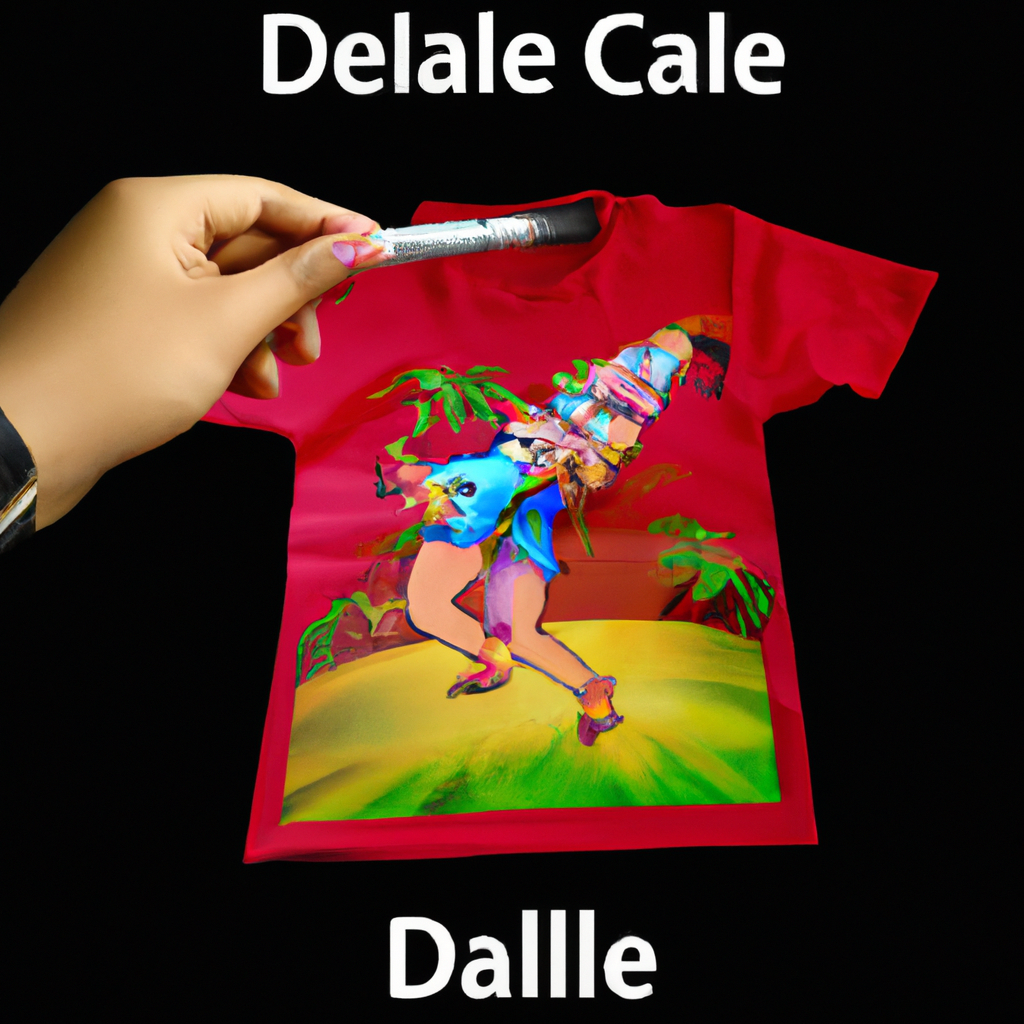
Are you tired of boring, plain t-shirts? Want to add some creativity and uniqueness to your wardrobe? Then fabric painting is the answer! Fabric painting is a fun and easy way to customize your t-shirts and express your personal style. With a little bit of creativity and some basic supplies, you can transform an ordinary t-shirt into a work of art.
In this article, I will be sharing with you different techniques for fabric painting that you can use to transform your t-shirts. You do not need to be an expert to try these techniques – all you need is a little bit of time and creativity.
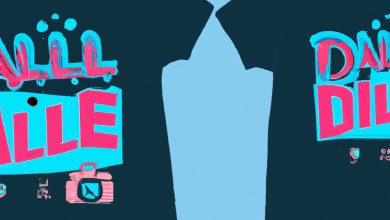
There are many different techniques for fabric painting, each with its own unique look and feel. In this article, we will cover the following five techniques: block printing, stenciling, tie-dyeing, spray painting, and screen printing.
Block printing involves using a stamp or block to create a repeating pattern on the fabric. This technique is great for creating geometric or abstract designs. Stenciling involves using a stencil to create a precise design on the fabric. This technique is perfect for creating images, words, or logos. Tie-dyeing is a classic fabric painting technique that involves binding the fabric in different ways to create unique patterns. Spray painting is a fun and easy way to create a modern, street-style look on your t-shirts. Lastly, screen printing involves creating a stencil for each color in the design and then printing the design onto the fabric.
With all of these techniques, you can customize your t-shirts and express your personal style. So, let’s get creative and try some of these DIY fabric painting techniques for t-shirts!
II. Basic Fabric Painting Supplies
When it comes to creating your own personalized t-shirts with fabric painting, there are some basic supplies you will need to get started. Here is a list of the essential supplies you will need for fabric painting:
1. Fabric paint – This is the most important supply you will need. Fabric paint is specially formulated to adhere to fabric and withstand washing. There are many brands and types of fabric paint available, so make sure to choose the right one for your project. If you’re working with dark fabrics, use opaque fabric paint. For lighter colors or pastels, use transparent or translucent fabric paint.
2. Brushes – You will need brushes to apply the paint to your fabric. Good quality brushes that are designed for fabric painting will give you the best results.
3. Stencils – Stencils are a great way to create clean lines and repeat patterns. You can make your own stencils out of cardboard or buy pre-made stencils from a craft store.
4. Tape – Scotch tape or painters tape can be used to hold stencils in place or to create clean edges.
5. Fabric – The fabric you choose will have a big impact on how your design turns out. Cotton is the most commonly used fabric for fabric painting because it is durable and easy to work with. Make sure to wash your fabric before you paint to remove any sizing or residue.
6. Paintbrush cleaner – This is a special cleaner designed specifically for fabric paint brushes. It will help to keep your brushes in good condition and extend their lifespan.
When choosing fabric paint, it’s important to consider the type of project you will be working on. If you’re creating a design that requires a lot of detail, you will need fabric paint that is thin and easy to work with. If you’re creating an abstract design that requires blending or shading, look for fabric paint that is thicker and more opaque.
Another important factor to consider is the color of your fabric. If you’re painting on a dark fabric, choose a lighter color of fabric paint so that your design will stand out. If you’re painting on a light fabric, choose a darker color of fabric paint to create contrast.
When choosing your fabric, make sure to choose a material that is appropriate for your project. Some fabrics, like silk or polyester, require special treatments or may not be suitable for certain types of fabric paint. Always read the label on your paint and fabric to ensure that they are compatible.
By having the right supplies and taking the time to choose the right fabric and paint for your project, you’ll be well on your way to creating personalized t-shirts that are unique and one-of-a-kind.
III. Block Printing
Block printing is a fabric painting technique that involves using carved blocks as stamps to create designs on the fabric. It is an easy and versatile way to create unique and personalized designs on T-shirts. Here’s what you need to get started:
– Fabric paint
– Carving block
– Carving tools
– Brayer (roller)
– T-Shirt
– Newspaper
Once you have all the supplies, you need to start by drawing your design on paper. Use a pencil or pen to sketch your design, then transfer it to the carving block. Use carving tools to cut away the areas of the block not covered by the design. Once you’re done carving, apply fabric paint to the block using a brayer (roller).
Now comes the fun part- the printing! Place the T-shirt on a flat surface covered with newspaper. Place the block on the T-shirt and press down firmly. Use your hands to press down evenly across the entire block to ensure that the design is transferred to the fabric evenly. Repeat the process with different colors and designs until you achieve the look you want.
Block printing works well for designs with clean, simple lines and shapes. Some popular designs for block printing include geometric shapes, florals, and animals. You can also use different patterns and motifs to create unique designs that reflect your personal style.
Block printing allows you to create multiple prints of the same design with ease. This makes it perfect for creating matching T-shirts for group events or parties. You can also use it to create customized gifts for your loved ones.
Overall, block printing is a fun and easy way to add your personal touch to your T-shirts. The possibilities are endless, and you can experiment with different colors and designs to create unique looks that are all your own.
IV. Stenciling
Stenciling is a popular and simple technique of fabric painting that uses pre-cut designs or patterns on paper or cardboard. This technique is perfect for beginners because it doesn’t require much skill, and it allows for a lot of creativity. Here’s how to do stenciling:
1. Gather your supplies: fabric paint, a t-shirt or other fabric to paint on, stencils, painter’s tape, a foam brush, and a piece of cardboard or newspaper to place under your fabric to prevent bleeding.
2. Choose your stencil: There are many options when it comes to stencils. You can use ready-made stencils that you can buy in craft stores or online, or you can create your own stencil by printing out a design and cutting it out or drawing it freehand on cardboard or paper.
3. Attach the stencil to your shirt: Once you have your stencil, you need to attach it to your shirt. Secure the stencil to the shirt using painter’s tape or adhesive spray.
4. Paint your stencil: Use a foam brush to paint your stencil. Start by dabbing the fabric paint gently onto the stencil, filling in the design with careful and even strokes. Be careful not to apply too much paint at once, to avoid bleeding or smudging.
5. Remove the stencil: Carefully remove the stencil, making sure not smear or smudge the paint.
6. Let it dry: Allow your shirt to dry completely before removing the cardboard or newspaper from underneath the shirt.
When it comes to stenciling, the options are endless. You can use shapes, floral and geometric patterns, or even images of animals, celebrities, or anything you like. Stenciling allows for a lot of customization and personalization, and it’s a great way to make your t-shirts stand out from the crowd.
If you want to take your stenciling to the next level, you can experiment with different colors, using multiple stencils to create layered designs, or even creating your own custom stencil by cutting your own design into paper or cardboard.
So, whether you’re painting t-shirts for yourself or as a gift, stenciling is a fun and easy way to create unique and personalized designs. Just be sure to have fun, experiment, and let your creativity run wild!
V. Tie-Dyeing
Tie-dye is a classic fabric painting technique that has been popular for decades. It involves twisting, tying, and folding fabric, then applying dye to create a vibrant and unique pattern. Tie-dye can be applied to t-shirts in a variety of ways, from subtle color variations to bold and intricate designs.
To tie-dye a t-shirt, start by washing the fabric to remove any sizing or residue. Then, choose your dye colors and prepare them according to the package instructions. Next, you can choose your tying technique. A few popular options include:
– Spiral: Lay the t-shirt flat and pinch the center. Twist the fabric into a spiral shape, then secure with rubber bands.
– Crumple: Crumple the t-shirt into a ball, then tie rubber bands around it in sections.
– Stripes: Fold the t-shirt in accordion-style folds, then tie rubber bands around the fabric in sections to create stripes.
Once the fabric is tied, you can use a spray bottle or squeeze bottle to apply the dye. Make sure to apply dye to both sides of the fabric, and be creative with your color choices! Remember that the colors will blend together where they overlap, so consider how different hues will interact.
After the dye has been applied, let the fabric sit for several hours (or even overnight) to allow the color to set. Then, remove the rubber bands and rinse the fabric thoroughly until the water runs clear. Finally, wash the fabric with a gentle detergent and dry as usual.
Some popular tie-dye patterns for t-shirts include the classic spiral, bullseye, and stripe patterns. You can also experiment with more intricate designs, such as the sunburst or mandala patterns. And don’t be afraid to mix and match techniques – for example, creating a spiral pattern using both warm and cool colors for a unique effect.
Overall, tie-dyeing is a fun and easy way to add some personality to plain t-shirts. With a little creativity and experimentation, you can create bold and one-of-a-kind designs that are sure to stand out.
VI. Spray Painting
Spray painting is a fabric painting technique that can be both easy and fun. It allows you to create unique designs on your t-shirt with minimal effort. However, it does require a bit of planning and preparation before you start. Follow the steps below to learn how to use spray paint on fabric and create amazing designs on your t-shirt:
1. Choose the right fabric:
Spray painting works best on cotton or other natural fabrics. Synthetic fabrics such as polyester do not absorb the paint well and may result in a faded design. So, make sure you choose the right fabric for your project.
2. Set up a workspace:
Before you begin spray painting, it’s important to set up a workspace where you can work safely without worrying about getting paint everywhere. Consider using a tarp or old newspaper to protect your work surface.
3. Choose your paint:
There are special spray paints made specifically for fabric. Make sure you choose high-quality fabric spray paint that will give you long-lasting results. Shake the can well before use and test the spray on a scrap piece of fabric to ensure you are happy with the color and coverage.
4. Select your stencil or mask:
Spray paint is an excellent way to create intricate designs on your t-shirt. You could use stencils or masks to create repeating patterns, images, or even words. There are two ways you can create a stencil or mask. You can either buy pre-made stencils from a craft store or create your own using contact paper or masking tape.
5. Apply the spray paint:
Once you have chosen your stencil or mask, apply it to your t-shirt. If you are using masking tape or contact paper, make sure to press down firmly to prevent the paint from seeping through. Hold the can approximately six inches from the fabric and spray lightly. Allow the paint to dry between coats and remove the stencil or mask once the design is complete.
6. Dry the fabric:
Allow the fabric to dry completely before touching or wearing. Follow the instructions on the spray paint can for best results.
7. Fix the paint:
Once the fabric is dry, it’s important to fix the paint so that it won’t wash out. You can do this by ironing the design with a hot iron for several minutes or placing the fabric in a dryer on high heat for twenty minutes.
In conclusion, spray painting is an excellent choice for creating unique and intricate designs on your t-shirt. With a bit of preparation, patience, and creativity, you can achieve incredible results. So go ahead and experiment with different colors, stencils, and masks to create your one-of-a-kind t-shirt.
VII. Screen Printing
Screen printing is a fabric painting technique that involves creating a stencil, or screen, and applying ink or paint onto a substrate, such as a t-shirt. It is an efficient and cost-effective method for mass-producing designs on fabric, yet it can also be used for creating custom designs on a single shirt or a few.
To get started with screen printing, you’ll need a screen, a squeegee, and fabric ink or paint. Here are some tips for making your own screen at home using an embroidery hoop:
1. Choose a mesh: The screen mesh is the material that the ink passes through to make the design. Mesh with a lower number (around 110-156) will create a thicker deposit of ink on the fabric, while higher numbered mesh (above 200) is best for fine detail. The most commonly used mesh for t-shirt printing is 156 count.
2. Stretch the mesh: Stretch the mesh across the embroidery hoop and secure it with tape or staples. It should be tight, but not so tight that it distorts the fabric.
3. Add the stencil: Use a stencil material, such as sticky vinyl or freezer paper, to create a design on the screen. Cut out the design with an X-acto knife or a cutting machine, and remove the negative space.
4. Apply the ink: Place the screen on top of the t-shirt with the design facing down. Add ink to the top of the screen and use the squeegee to draw the ink across the screen, filling the stencil. Press down firmly and evenly to ensure the ink transfers through the mesh and onto the fabric.
5. Dry the ink: Allow the ink to dry for at least 24 hours before washing the t-shirt. Heat setting the ink with an iron or dryer will help it last longer.
Screen printing allows you to print multiple colors in one design by using multiple stencils for each color. When creating a design for screen printing, it’s important to keep in mind that the more intricate the design, the harder it will be to print. Simple designs with bold outlines work best for this technique, as it’s not as forgiving as some of the others we’ve covered.
Some examples of designs that work well with screen printing on t-shirts include logos, bold text, and graphic illustrations. Screen printing can also be used for creating custom designs for sports teams, events, or brand merchandise.
In conclusion, screen printing is a versatile and effective technique for achieving high-quality designs on t-shirts. With a little bit of practice and some basic supplies, you can create your own screen prints and customize your wardrobe with unique designs.
VIII. Conclusion
Customizing your own t-shirts with fabric painting is a great way to express your individuality and creativity. Using the right techniques, you can transform simple t-shirts into unique pieces that reflect your personal style. In this article, we’ve covered some basic fabric painting techniques that you can use to get started.
Whether you’re interested in block printing, stenciling, tie-dyeing, spray painting, or screen printing, there are many options available to you. Each technique offers a different look and feel, making it possible to create t-shirts that range from bold and graphic to soft and dreamy.
One of the great things about fabric painting is that it’s easy to get started with. All you need are some basic supplies, a bit of creativity, and a willingness to experiment. Don’t be afraid to try out different techniques and see what works best for you. You may find that you love the look of one particular technique, or you may discover that you enjoy combining different methods to create truly unique designs.
Ultimately, the most important thing is to have fun and enjoy the process of creating something unique and special. With so many different fabric painting techniques to choose from, there’s no limit to what you can create. So go ahead and get started today — grab some fabric paint, choose your favorite techniques, and let your imagination soar!