I. Introduction
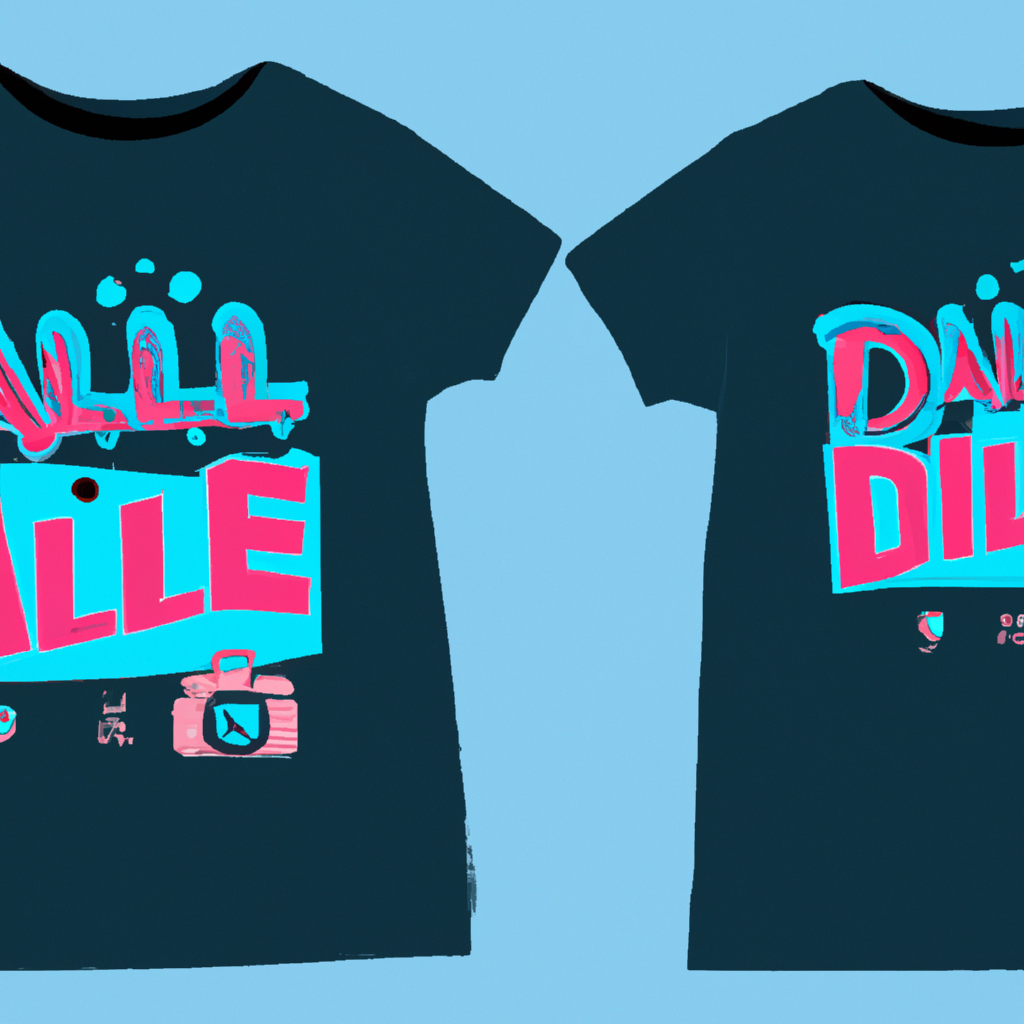
T-shirts are a wardrobe staple for most people. They are comfortable, versatile, and can be dressed up or down depending on the occasion. However, sometimes it can be challenging to find a t-shirt that fits your style, personality, or mood. That’s where DIY iron-on transfers come in.
DIY iron-on transfers are a simple and affordable way to personalize your t-shirts. You can easily add your own designs, quotes, logos, or images to any plain t-shirt, turning it into a unique piece that perfectly reflects your personality or interests.
Benefits of Personalizing T-Shirts:
There are many benefits to personalizing your t-shirts with DIY iron-on transfers. First and foremost, you get to express your creativity and individuality. You have full control over the design, color, size, and placement of your transfer, which means you can create something that is truly one-of-a-kind.
Personalizing your t-shirts also allows you to make a statement. You can use your transfer to showcase your favorite sports team, band, movie, or TV show. You can also use it to promote a cause or support a charity. Your t-shirt can be a conversation starter, a way to connect with like-minded people, or a way to showcase your values.
Another benefit of DIY iron-on transfers is that they are cost-effective. You don’t need to spend a lot of money on expensive graphic tees or custom printing services. With just a few materials and tools, you can create a custom t-shirt that looks just as good, if not better, than something you would buy at the store.
Overall, personalizing your t-shirts with DIY iron-on transfers is a fun, creative, and affordable way to express your personality, make a statement, and stand out from the crowd. In the following sections, we’ll discuss the materials you need, how to create your design, how to print your transfer, how to apply it to your shirt, and how to care for your creation.

II. Materials Needed
To create your own DIY iron-on transfer on t-shirts, you will need a few materials. Here is a list of the necessary materials:
1. Transfer paper
There are two types of transfer paper – light transfer paper for white or light-colored t-shirts and dark transfer paper for black or dark-colored t-shirts. Choose the right transfer paper depending on the color of your t-shirt. Make sure to read the instructions on the transfer paper before use.
2. Printer
A printer is needed to print your design on the transfer paper. You can use an inkjet or laser printer, but be sure to check the compatibility of your chosen printer with the transfer paper that you purchased.
3. T-shirt
Choose a t-shirt made of any material except for 100% polyester, which may not hold the transfer well. It is recommended to use 100% cotton or a cotton blend t-shirt.
4. Scissors
You will need a pair of scissors to cut out your design after printing.
5. Iron
Using an iron is necessary to transfer the design from the transfer paper to the t-shirt. The heat from the iron activates the adhesive on the transfer paper.
6. Hard surface
When using an iron, it is best to use a hard surface such as a wooden board or an ironing board to achieve the best results.
Tips for choosing the right transfer paper
When choosing a transfer paper, make sure to look for the specific type of paper that is made for your printer. Also, check for the color compatibility with your t-shirt. Additionally, you may want to consider the quality and durability of the transfer paper. Some transfer paper may not hold up as well in the wash, resulting in a faded design. Consider purchasing transfer paper from reputable brands that offer a better quality transfer. By choosing the right transfer paper, you can ensure that your design will transfer flawlessly onto the t-shirt, and the design will last for a long time.
III. Creating Your Design
Once you have your materials ready, it’s time to start creating your design. The first thing to consider is whether you want to create your own design or choose one that’s already available. If you’re creating your own design, here are a few tips to help you design a successful transfer:
1. Keep it simple: Your design should be easy to read and understand. Avoid complex images, small fonts, and too many details.
2. Use high-resolution images: If you’re using images for your design, be sure to use high-resolution versions to ensure that the final product looks sharp and clear.
3. Consider your color palette: The colors you choose for your design will affect how your transfer looks on your t-shirt. Make sure your colors contrast well and are easy to read against the fabric.
4. Test your design: Before you print your transfer, test it out by printing a sample on regular paper. This will give you an idea of how it will look once it’s printed on transfer paper.
If you’re not confident in creating your own design, there are plenty of websites and online marketplaces where you can find pre-made designs. Many of these sites offer customizable options where you can add your own text or modify colors to fit your preferences.
When choosing a design, consider your audience and the occasion. Is this design for a casual day out or a special occasion like a family reunion or holiday party? Make sure the design reflects the tone and mood of the event.
Whether you’re creating your own design or choosing one from an online marketplace, take the time to ensure that it’s something you love and will be proud to wear on a t-shirt. A well-designed transfer can be a conversation starter and a unique expression of your personal style.
IV. Printing Your Transfer
Printing your transfer is a crucial step in creating your personalized t-shirt. Whether you choose to print your transfer at home or use a professional printing service, there are several things to consider to ensure you get the best results.
Printing at Home
If you choose to print your transfer at home, there are a few important things to keep in mind. First, make sure you have the right type of transfer paper for your printer. Transfer papers come in two varieties: inkjet and laser. Be sure to choose the appropriate paper type for your printer.
Before printing, it’s recommended that you do a test run on plain paper to make sure the design and colors are coming out the way you want. You can also adjust the settings on your printer to ensure the best quality transfer. Once you’re happy with the test run, it’s time to print the transfer.
When printing your transfer paper, be sure to follow the manufacturer’s instructions carefully. It’s important to print your design as a mirror image so that when you apply the transfer, the design is facing the correct way. You can usually do this by selecting a “mirror image” option on your printer settings.
Using a Professional Printing Service
If you’re not confident in your home-printing skills, or you want a higher quality transfer, you can always use a professional printing service. There are several online providers that specialize in customizable transfers.
To use a professional printing service, simply upload your design to their website and select the type of transfer paper you want. The provider will then print your design onto the paper and ship it to you. The advantage of using a professional service is that you can be sure your transfer will come out perfectly, without any printing errors or color discrepancies.
However, it’s important to note that professional printing services can be more expensive than printing at home. Additionally, some services may have minimum order requirements, so be sure to check before placing your order.
Overall, whether you choose to print at home or use a professional service, it’s important to follow instructions carefully and do a test run to ensure the best possible outcome for your personalized t-shirt.
V. Applying the Transfer
Applying an iron-on transfer to your t-shirt is perhaps the most crucial step in the DIY process. While it may seem intimidating at first, with a little practice and patience, you can master this skill and create perfect t-shirts every time.
Here is a step-by-step guide to applying an iron-on transfer:
1. Preheat Your Iron
Before you begin, make sure your iron is preheated to the appropriate temperature for the transfer paper you’re using. Refer to the instructions on your transfer paper for the recommended temperature setting.
2. Place the Transfer
Once your iron is hot, place your t-shirt on a flat, clean surface, and position the transfer paper with the printed side facing down on top of the shirt. Make sure the paper is centered and aligned correctly.
3. Apply Heat and Pressure
Using both hands, apply firm and even pressure to the iron and move it around the transfer design in a circular motion. Make sure you apply pressure to all areas of the design, especially the corners and edges. Do not use steam as it can damage the transfer.
4. Cool Down
After applying heat and pressure for the recommended time, let the transfer cool down for a few seconds before removing the transfer paper. This will help the design adhere firmly to the t-shirt and prevent smudging.
5. Peel the Transfer
Peel off the transfer paper carefully and slowly to avoid damaging the design. If any part of the transfer seems to be stuck to the paper, gently rub the transfer with your fingers and try peeling it again.
While applying an iron-on transfer is relatively simple, there are some common mistakes to watch out for:
1. Incorrect Temperature
Make sure to preheat your iron to the recommended temperature for your transfer paper. Too much heat can burn the transfer, while too little heat can prevent the design from adhering properly.
2. Uneven Pressure
Inconsistent pressure during application can result in a poorly adhered design. Make sure to apply even pressure to all areas, especially the corners and edges.
3. Peeling the Transfer Too Soon
It’s essential to let the transfer cool down for a few seconds before removing the paper. Peeling the transfer too soon can cause the design to smudge or lift.
With these tips and tricks, you can confidently apply your iron-on transfers and create personalized t-shirts that are both stylish and unique.
VI. Caring for Your Custom T-Shirt
Congratulations! You’ve successfully personalized your t-shirt with a DIY iron-on transfer. Now, it’s important to ensure that your custom t-shirt stays looking great for as long as possible. Here are some best practices for caring for your custom t-shirt:
1. Wash with care – Always turn your t-shirt inside out before washing to protect the transfer from rubbing against other clothes in the cycle. Use cold water and a gentle detergent to prevent fading and damage to the transfer. Avoid using bleach, fabric softeners, or any products that can harm the transfer.
2. Drying methods – Preferably, line dry your t-shirt or lay it flat to air dry. When using the dryer, choose a low-heat setting and remove your t-shirt immediately when the cycle ends. Leaving your t-shirt in the dryer for an extended time can cause the transfer to crack.
3. Ironing the transfer – Some people iron over the transfer to help it adhere to the fabric better, but this is not always recommended. If you do choose to iron over the transfer, it’s important to place a cloth between the iron and the transfer to protect it from high heat.
4. Storing your custom t-shirt – Avoid storing your t-shirt in direct sunlight or in damp areas. It’s best to store your t-shirt flat as folding can lead to creases that damage the transfer.
5. Extending the life of your transfer – To keep your transfer looking great for as long as possible, avoid washing your t-shirt too frequently, and avoid rubbing the transfer against other items. Also, be sure to follow the instructions for washing and drying your custom t-shirt mentioned above.
By following these best practices, you can extend the life of your custom t-shirt and ensure that your DIY iron-on transfer stays looking as good as new for as long as possible. Remember, a well-cared-for t-shirt can become an essential part of your wardrobe for years to come!
VII. Design Inspiration
If you’re looking for design inspiration for your DIY iron-on transfer, there are countless options available. From simple quotes and graphic designs to intricate patterns and illustrations, the possibilities are endless. Here are a few creative design ideas to get you started.
1. Wordplay: One popular trend in t-shirt design is incorporating clever wordplay into your design. Play with puns or use a catchy phrase to create a design with impact. For example, “Let’s taco ’bout it” or “Hakuna Matata” are both fun phrases that can be translated into a creative design.
2. Bold Graphics: If you’re looking for a design that makes a statement, try incorporating bold graphic elements into your transfer. This could include anything from simple geometric shapes to more complex illustrations. Find a graphic design that speaks to you and have fun experimenting with different color combinations and layouts.
3. Personal Photos: Another great way to personalize your t-shirts is by using personal photos in your design. You could create a shirt featuring a family photo or use a picture of your pet as the basis for a transfer design. This works especially well for special occasions like family reunions or a birthday celebration.
4. Floral Patterns: Floral patterns and designs are always popular and can make for some beautiful custom t-shirts. Play with different types of flowers, color schemes, and layouts to create a unique and eye-catching design.
5. Pop Culture References: Whether you’re a fan of a popular TV show or movie, or you simply want to reference a famous figure or moment in history, incorporating pop culture references into your transfer design can be a fun way to connect with others who share your interests.
In addition to these design ideas, it’s always a good idea to keep an eye on current trends in t-shirt design. Look to fashion blogs, social media, and online marketplaces like Etsy for inspiration and to get a sense of what’s popular at the moment. With a little creativity and inspiration, you’ll be on your way to creating custom t-shirts that are as unique as you are.
VIII. Conclusion
In conclusion, personalizing your t-shirts with DIY iron-on transfers is a fun and easy way to express your personality and create unique clothing items. By following the steps outlined in this article, you can create professional-looking transfers at home, without the need for expensive equipment or materials.
The benefits of creating custom t-shirts are undeniable. They can be used as a way to show support for a cause or organization, celebrate a special occasion, or simply make a statement. DIY iron-on transfers allow you to create custom t-shirts in a quick and cost-effective way.
As a final tip, if you’re having trouble deciding on a design or need some inspiration, browse through social media, online t-shirt stores or DIY blogs. There are countless designs and trends to choose from, making it easy to find a unique look that resonates with your personal style.
Another tip is to store your custom t-shirts carefully to ensure that they last for a long time. Always read the care instructions on your transfer paper and follow the recommended washing and drying methods.
Lastly, don’t forget to have fun with your projects. Personalizing t-shirts should be an enjoyable and creative process. So whether you’re creating one t-shirt or a whole wardrobe, enjoy the process of making something unique that truly reflects your individuality.
In conclusion, DIY iron-on transfers can give your t-shirts a personal touch that is both fun and affordable. With the right materials and a bit of creativity, you can transform plain t-shirts into unique staples that reflect your personal style. So go ahead and experiment with different designs, colors and textures, and see what you can create!
